
Tubeless Conversion Kit Road Gravel Tutorial: Step‑by‑Step Guide For A Faster, Puncture‑Resistant Ride
Rooster | February 21 2026Tubeless Conversion Kit Road Gravel Tutorial: Step‑by‑Step Guide For A Faster, Puncture‑Resistant Ride
Tubeless has gone from niche to normal on road and gravel, and gravel riding on Strava grew 55% in 2023, so more riders than ever are looking to convert their wheels at home. In this tutorial we walk you through a full tubeless conversion using a road / gravel kit, with practical tips from the workshop so you get a clean, reliable setup first time.
Key Takeaways
| Question | Answer |
|---|---|
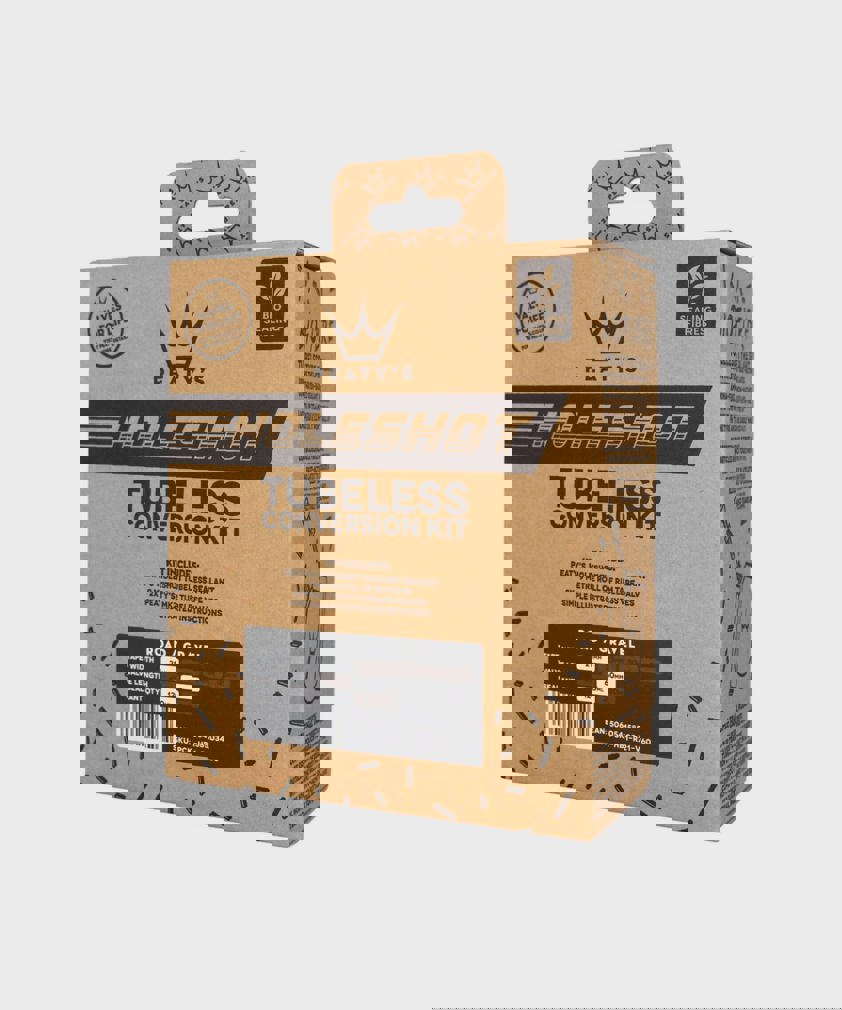
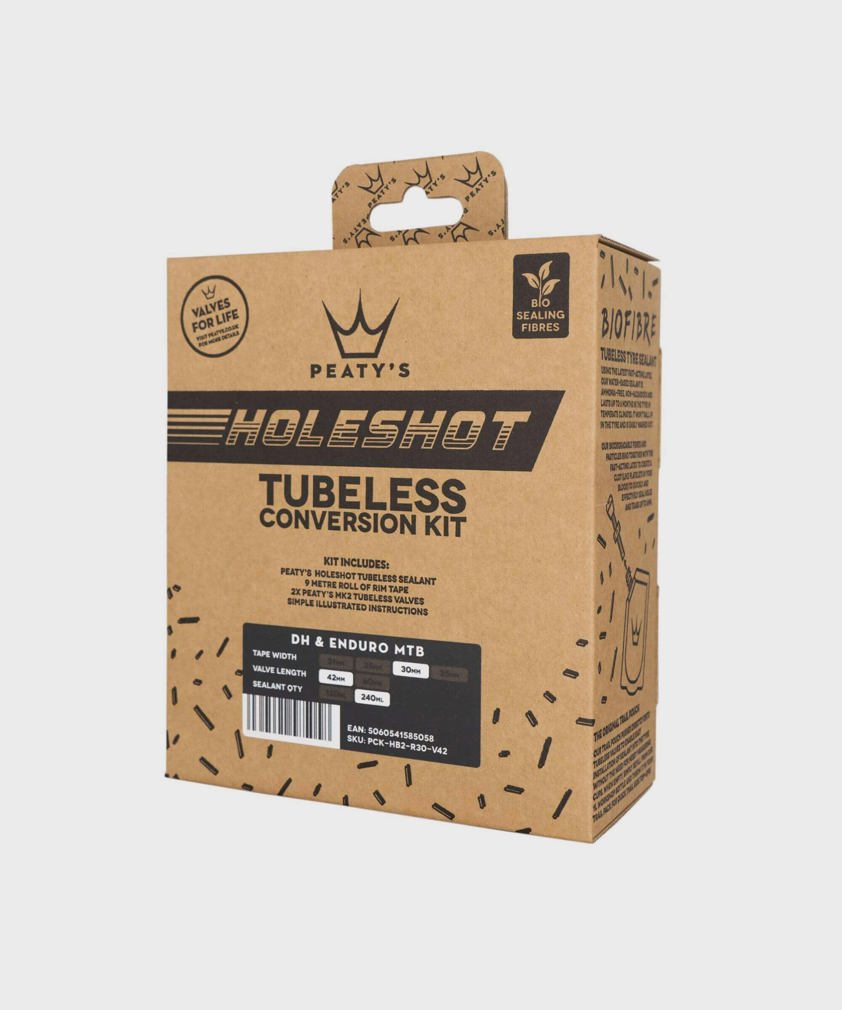
| What is the easiest way to convert road or gravel wheels to tubeless? | Use a complete kit like Peaty's Holeshot Tubeless Conversion Kit Road/Gravel 21 mm, which includes tape, valves and accessories matched for narrow rims. |
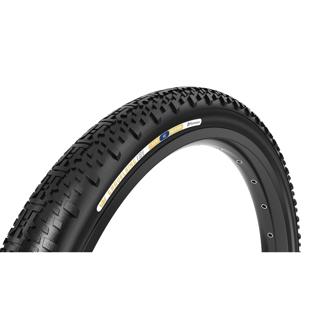
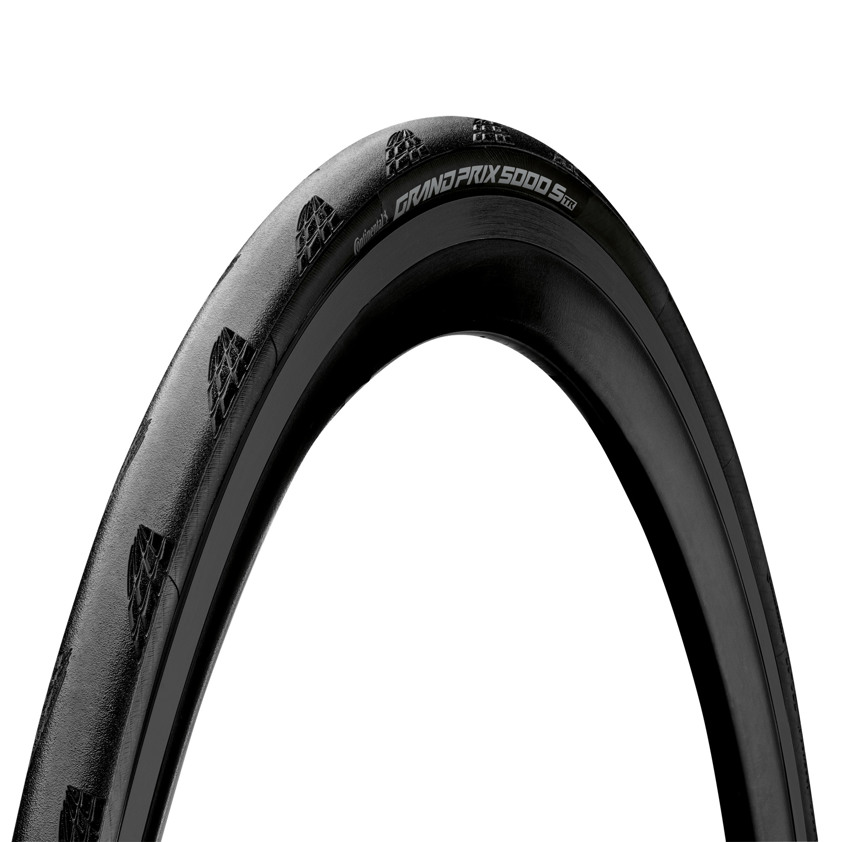
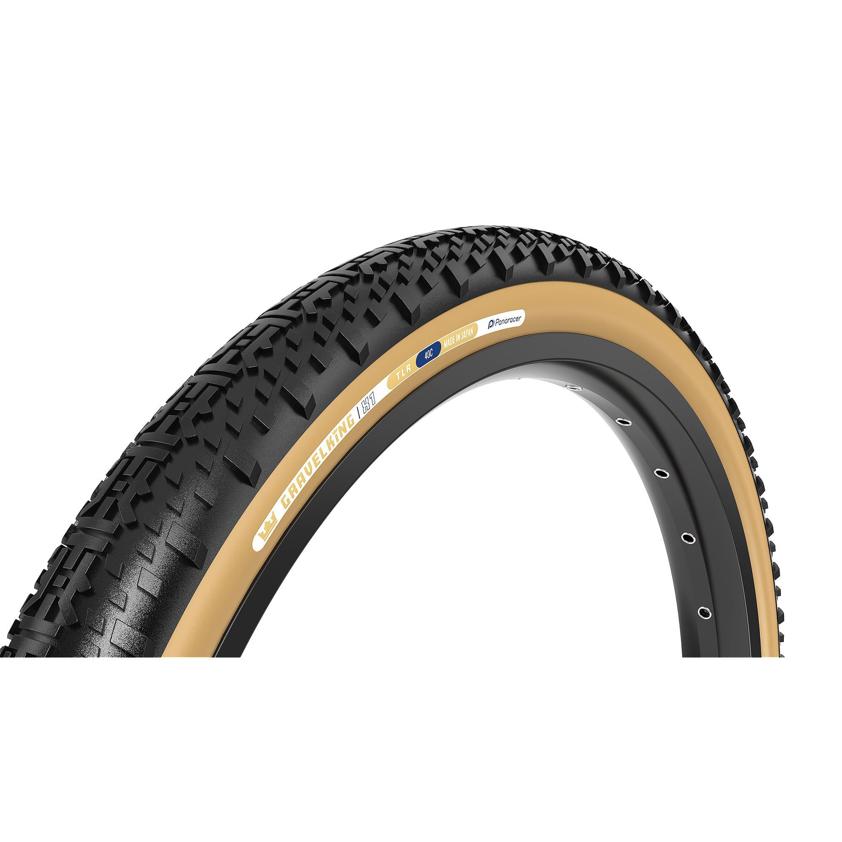
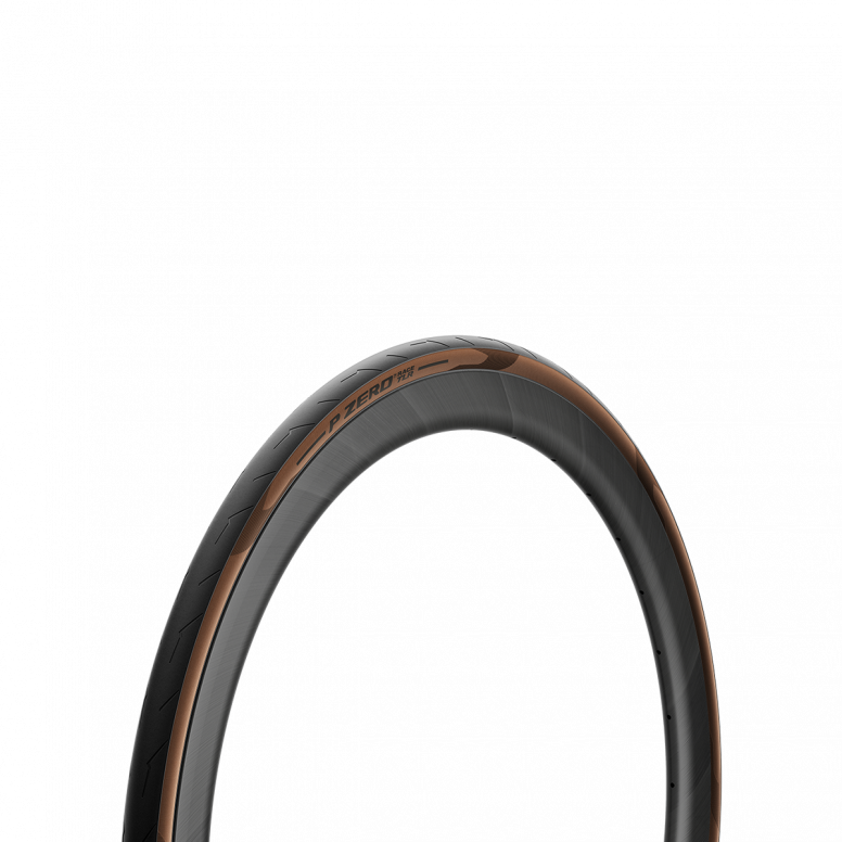
| Do I need special tyres for a tubeless conversion? | Yes, always use tubeless ready tyres such as the Continental Grand Prix 5000S TR for road or the Panaracer GravelKing X1 TLR 700 x 35c for gravel. |
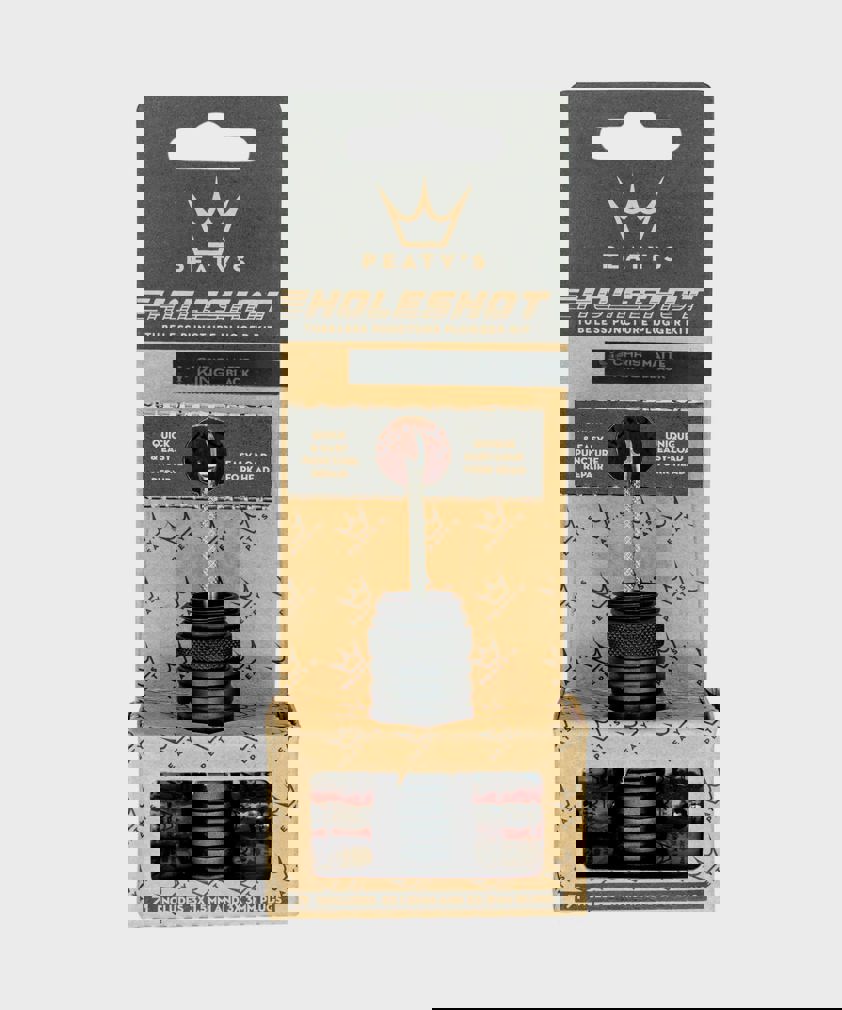
| What happens if I puncture tubeless tyres on a ride? | Sealant will fix small holes, and for bigger cuts you can use a repair tool such as the Peaty's Holeshot Tubeless Puncture Plugger Kit which works very well on road and gravel casings. |
| Where can I browse tubeless‑ready tyres for different bikes? | Have a look at our Tyres & Grips range where we stock road and gravel tubeless options in a range of widths. |
| Can I still get my bike serviced if I run tubeless? | Yes, we work with tubeless setups every day and our tubeless puncture repair service covers everything from stubborn leaks to damaged tyres. |
| Where can I learn more about looking after my bike once it is tubeless? | Our workshop tips in the journal, including how to make your bike last longer, apply directly to tubeless wheels and tyres. |
1. Why Go Tubeless On Road And Gravel?
On tarmac and gravel, tubeless lets you run lower pressures with far fewer pinch flats and a lot more grip. For many riders it is also simply less faff on long rides, because sealant quietly deals with the small holes that used to ruin a day out.
Muc‑Off data suggests 79% of riders experience more punctures with inner tubes than with tubeless, which matches what we see in the workshop. Over a couple of seasons, that adds up to fewer stops at the roadside and less money spent on spare tubes.
Key benefits for road and gravel riders
If you are still on tubes, here is what you gain from a tubeless conversion kit on your road or gravel bike.
- Lower pressures without pinch flats, which boosts comfort and traction.
- Automatic sealing of most small thorns and flints.
- Better rolling on rough surfaces, because the tyre can deform without the tube dragging inside.
- Weight savings at the rim compared with thicker puncture‑resistant tubes.
Gravel riders especially see the benefit, because they ride over more mixed surfaces and sharp stones. We regularly convert bikes for riders who were previously fixing a puncture almost every other weekend.
2. What Comes In A Road / Gravel Tubeless Conversion Kit?
A good conversion kit saves you hunting for separate parts and guessing tape widths. For road and gravel rims in the 19 to 21 mm internal range, the Peaty's Holeshot Tubeless Conversion Kit Road/Gravel (21 mm) – Box of 4 gives you everything in one box.
This kit includes silver‑printed Peaty's tubeless rim tape sized for narrow rims, tubeless valves, and accessories to help with setup. It is designed from the outset for the higher pressures and tighter fits you see on road and gravel compared with MTB.
Typical components in a road / gravel kit
- Rim tape in the correct width, usually 21 mm for many modern road disc and gravel rims.
- Tubeless valves with removable cores for easy sealant injection.
- Valve nuts and rubber grommets to seal the valve hole neatly.
- Sometimes a small bottle of sealant and valve core tool, depending on the specific kit.
We like complete kits because they cut down the number of small mistakes that can cause slow leaks later. Matching the tape width properly and using quality valves has a bigger effect than most people expect.
3. Choosing Tubeless Ready Tyres For Road And Gravel
Tyres are where your tubeless conversion really pays off, so it is worth choosing suitable models for how and where you ride. You must use tyres marked TLR or tubeless ready, because standard clinchers often do not lock safely to the rim or seal properly.
For fast road riding, the Continental Grand Prix 5000S Tubeless Ready is a very popular choice in the workshop. On mixed and off‑road routes, we often fit Panaracer GravelKing or similar gravel‑specific TLR tyres.
Road vs gravel tubeless tyre choices
| Use | Example tyre | Key features |
|---|---|---|
| Road speed & racing | Continental Grand Prix 5000S TR | Fast rolling, BlackChili compound, reinforced sidewalls |
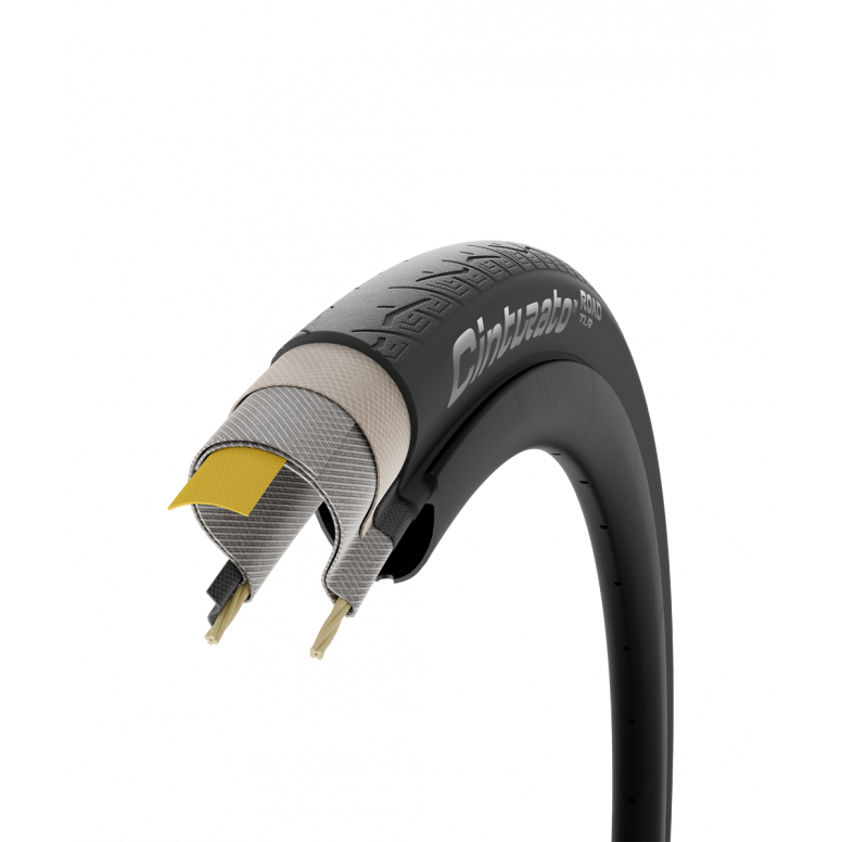
| All‑round road/training | Cinturato Road TLR | Durable casing, SmartNET Silica for wet grip |
| Fast gravel | Panaracer GravelKing X1 TLR 700x35c | ZSG Gravel compound, BeadLock bead, TuffTex casing |
Pro gravel events have moved towards 40 to 45 mm widths, but for UK gravel a 35 mm like the GravelKing X1 balances speed and comfort nicely. On the road side, 28 to 30 mm tubeless tyres are now common even among riders who used to run 23 mm.
This infographic breaks down the five-step tubeless conversion process for road and gravel bikes. Follow the steps from prep to sealant for a reliable tubeless setup.
4. Step‑By‑Step: Preparing Your Wheels For Tubeless
Good prep is the difference between a clean, quiet tubeless setup and one that hisses overnight. Before you touch the tape, remove tyres and tubes, peel off any old tape, and clean the rim bed thoroughly.
We like to use isopropyl alcohol on a clean cloth so the tape sticks to bare metal or carbon, not dust or dried sealant. Take a moment to inspect spoke holes, valve hole and rim bed for sharp edges that might cut the tape.
Checking rim and tyre compatibility
- Confirm your rim is labelled tubeless ready or similar, especially for higher road pressures.
- Measure the internal width so you know whether a 21 mm kit like Peaty's is suitable.
- Check your tyres are marked TLR or tubeless ready, and match the size range recommended for the rim.
You can technically tape some non‑tubeless rims, but we do not recommend that for road pressures. For gravel or CX, lower pressures reduce the risk, but we still prefer rims that the manufacturer approves for tubeless use.
5. Fitting Tubeless Rim Tape And Valves
Taping is the step that scares people, but it is very manageable if you take your time. Start one or two spoke holes before the valve, keep steady tension on the tape, and smooth it down firmly with your thumb as you go.
On road and gravel rims we prefer to use two full wraps of quality tape, as supplied in Peaty's Holeshot kit, for extra security at higher pressures. Overlap the end by at least 10 cm so the joint is not close to the valve hole.
Valve installation checklist
- Use a small pick to pierce the tape cleanly in the valve hole, rather than tearing a large slit.
- Push the tubeless valve through from the tyre side and wiggle it gently to seat its rubber base against the tape.
- On the outside, add the O‑ring if supplied, then the valve nut finger tight, finally snug it up with a small spanner while pressing the valve into the rim bed.
If you hear air bubbling around the valve later, this is usually a sign the valve is not seated squarely or the tape around the hole is torn. In that case we often re‑do that section of tape rather than chasing it with extra sealant.
6. Mounting Tyres, Adding Sealant And Seating The Bead
Once the tape and valves are in place, you can mount the tyre and add sealant. Fit one bead completely, then either pour sealant into the tyre before lifting the second bead, or inject it through the valve after seating the tyre dry.
For road and gravel we often prefer the valve‑injection method, because it keeps the mess down if you need to remove and refit the tyre during setup. Use the removable core supplied with most modern tubeless valves and a sealant syringe or measuring bottle.
Seating tubeless beads on road and gravel
- Remove the valve core to maximise air flow from your track pump or inflator.
- Fit the wheel in a clean tyre stand or hold it firmly, then give it a sharp blast of air until the beads snap into place.
- Once seated, refit the valve core, set your starting pressure, and shake and rotate the wheel so sealant can work around the bead and sidewalls.
On tighter road tyres, a rapid inflator can help if a normal track pump is struggling. That is where a good CO₂ inflator, sized for road and gravel volumes, earns its keep.
7. Setting Tubeless Tyre Pressures For Road And Gravel
Once your tyres are holding air, you can start to dial in pressures. Tubeless lets you go lower than you may be used to on tubes, but you still need enough support to prevent burping on hard cornering and impacts.
On the road, many riders settle somewhere between 60 and 85 psi depending on weight and tyre width. For gravel, it is often more like 26 to 45 psi, with softer pressures for rougher tracks and wider tyres.
Simple starting points
- Road 28 mm tubeless: around 70 psi for an 80 kg rider, then adjust 3 to 5 psi at a time.
- Gravel 35 mm tubeless: mid 30s psi on mixed surfaces, dropping a little on very rough off‑road.
- Lighter riders can usually subtract 5 to 10 psi from those figures while still avoiding rim strikes.
You will feel very quickly if pressures are too low, because the bike will squirm and hit the rim on big bumps. If in doubt before a big event or trip, we are happy to help you find a safe starting point for your specific wheels and tyres in the workshop.
8. On‑Ride Tubeless Puncture Repair For Road And Gravel
Even the best tubeless conversion kit will not prevent every possible puncture. Large cuts, sharp flints and sidewall damage can still stop sealant sealing on its own.
For that reason we always recommend carrying a compact plug kit, especially on gravel where sharp stones and flint can slice tyres. Peaty's Holeshot Tubeless Puncture Plugger Kit is designed exactly for this sort of quick fix by the roadside or trail.
How to plug a tubeless puncture mid‑ride
- Leave the wheel in the bike, turn the hole to the bottom, and check that the sealant has not already done the job.
- If it is still leaking, pick an appropriate plug size from the kit, load it into the tool and push it firmly into the hole, leaving the ends sticking out.
- Spin the wheel to spread sealant, then top up the pressure with your pump or CO₂.
Once you are home, you can decide whether to keep running the plugged tyre or replace it. Some riders finish whole seasons on tyres with a neat plug in them, as long as the casing around the hole is still sound.

9. Using CO₂ Inflators With Tubeless Road And Gravel Tyres
CO₂ inflators are not essential, but they can make life easier when seating beads or re‑inflating after a plug repair. For road and gravel, 16 g cartridges are usually enough to bring a tyre up to a safe riding pressure.
Peaty's Holeshot CO₂ inflator options are designed to work th road and gravel volumes and pressures, which keeps the hardware compact in your saddle bag. On a conversion day at home we still prefer a decent track pump or compressor, but for rides we almost always pack CO₂.
Workshop tips for using CO₂ on tubeless
- Give the wheel a quick shake so there is sealant near the bead or hole before you blast in CO₂.
- Inflate in short bursts so you can check for leaks instead of venting an entire cartridge into a big cut.
- Once home again, it is worth swapping CO₂ out for normal air with a track pump, because sealant works better with plain air over the long term.
CO₂ is particularly handy on tight‑fitting road tubeless tyres where a mini pump might struggle to snap the beads back into place. It is also one of the lightest ways to carry enough air for multiple high‑pressure tyres.
10. Ongoing Tubeless Maintenance And When To Get Help
Once your road or gravel bike is converted, tubeless is not completely set‑and‑forget. Sealant gradually dries out inside the tyre, so you need to top it up every few months, especially if you ride a lot in warm weather.
We recommend checking pressures before every ride and doing a more thorough inspection each month. Spin each wheel and look for wet spots, dried sealant patches or sidewall cuts that might need attention.
When to visit the workshop
- If a tyre is losing noticeable pressure overnight and you cannot find the leak with soapy water.
- When tape looks lifted, torn or heavily stained with old sealant around spoke holes or valve.
- If you have had a major cut or repeated plug repairs in the same area of the casing.
Our tubeless puncture repair service can rescue tyres and wheels that might otherwise seem ready for the bin. We are also happy to check a fresh home conversion and tidy up any small leaks or tape issues before a big event.
Conclusion
A good tubeless conversion kit for road and gravel makes your bike faster, more comfortable and far less prone to punctures. With the right tape, valves, tubeless ready tyres and a bit of patience, most riders can complete the conversion at home in an evening.
If you would rather we did the messy bit, or you get stuck at any stage of your tubeless conversion, you are always welcome to give us a call or drop by the workshop. We love helping riders get set up with reliable, low‑maintenance tubeless systems that suit the way they actually ride.